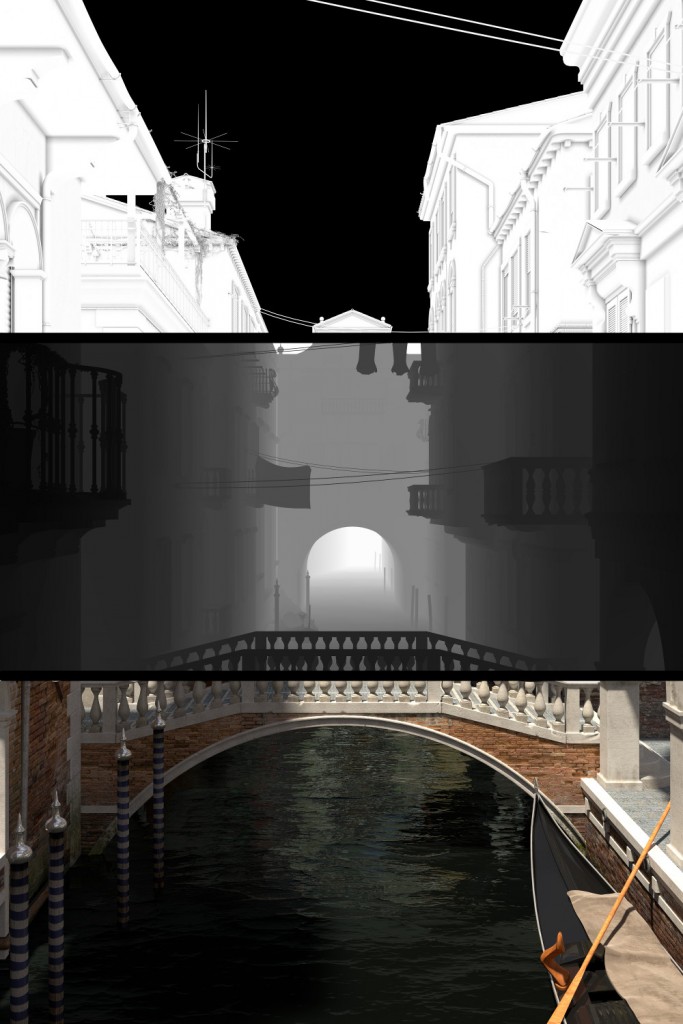
In the Behind the Scenes series, I'm inviting artists to talk about the creation of one of their works. Joshua Nowack's Venice is a beautiful architectural scene. I asked him to talk about his work.
I am Joshua, creator of the Venice scene. I'm studying computer science and in my free time I work with blender.
The Idea
I never visited Venice myself, but I really like the architecture. Some time ago I looked at images of the city and had to open blender and start modelling. At that point I did not know what I would do with the house I was modelling. After I finished the first house, I decided to make a complete Scene and started to collect references.
References
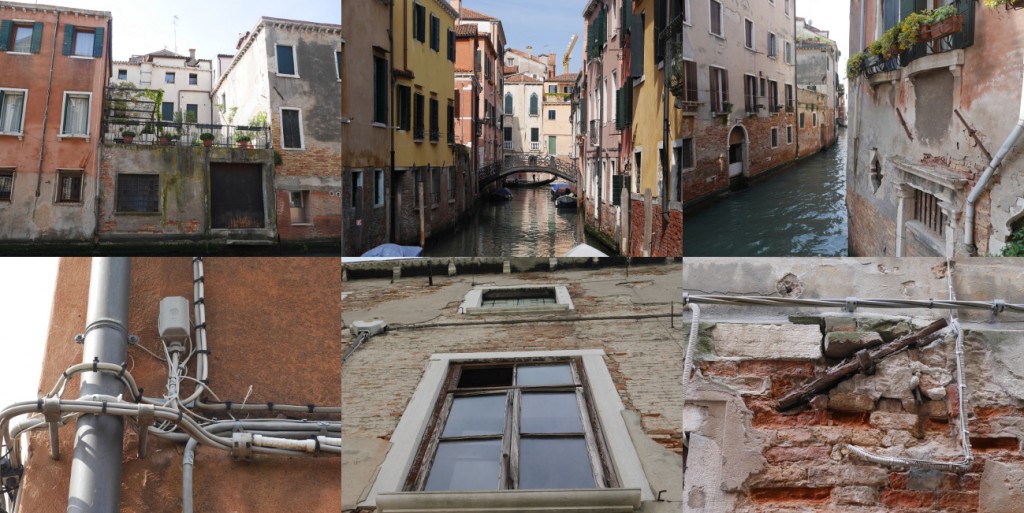
I used a lot of reference images but I never wanted to recreate a real house, so I used different references for modelling and texturing. Sometimes I used even more if I just liked a few parts of a house I saw. It is very important to have good reference images. I used about 100 images, from real scenes which look similar to what I wanted to create to little pieces like windows and rain gutters.
Basic Structure
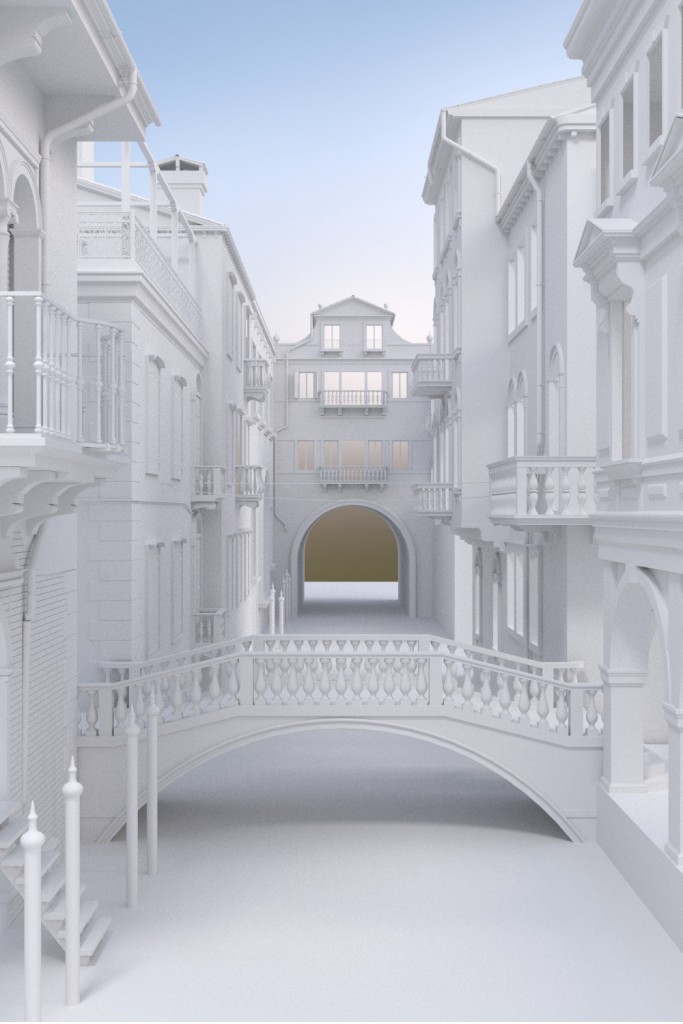
For me, one of the most important parts of Venice are the bridges and the water. I decided to focus on that and built the remaining parts around it. I chose a mirrored view with the bridge located in the lower third of the image.
Adding detail
After I finished the basic structure I added some details like electric wires, window shutters and cloth lines to the scene.
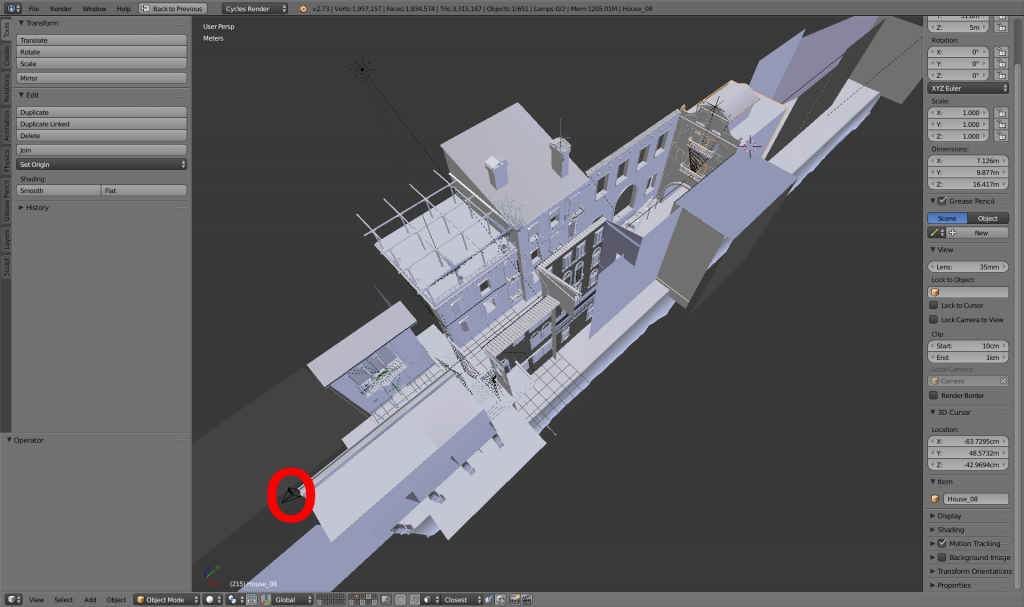
The complete scene is modelled for one camera angle as you can see below.
The gondola
The gondola I created is to detailed for what you actually see in the final render. Take a look at the horse statue. But it was fun to made and it increased my modelling skills, so that was not a problem.
The gondola is saved in a different file and linked to the main file. I used the Edit Linked Library Addon. It is a really great tool when working with linked objects.
Texturing
The texturing stage was the hardest part of this project. I never textured buildings before. After some experiments I ended up with a workflow which worked quite fine for me.
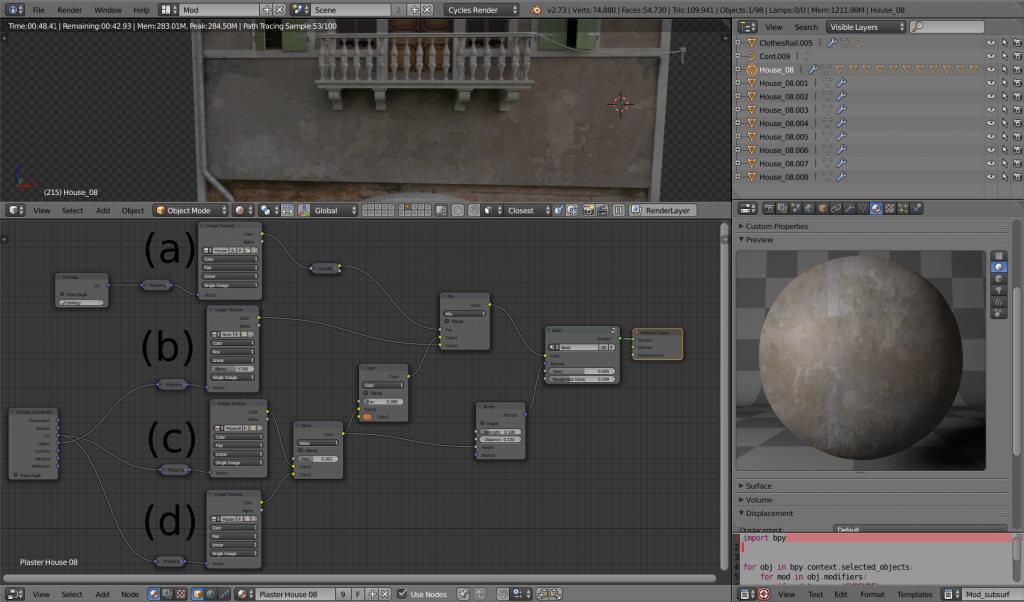
I used a simple setup described below for almost every material.
(a) dirt map
(b) grunge texture (in this case simple stone texture)
(c),(d) two basic plaster textures
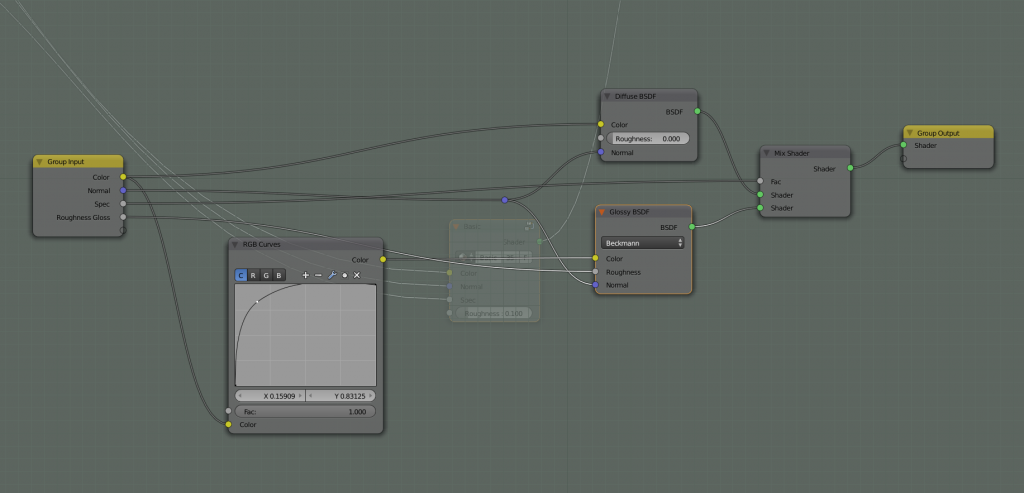
The „Basic“ Group Node you can see only mixes a diffuse and a glossy material.
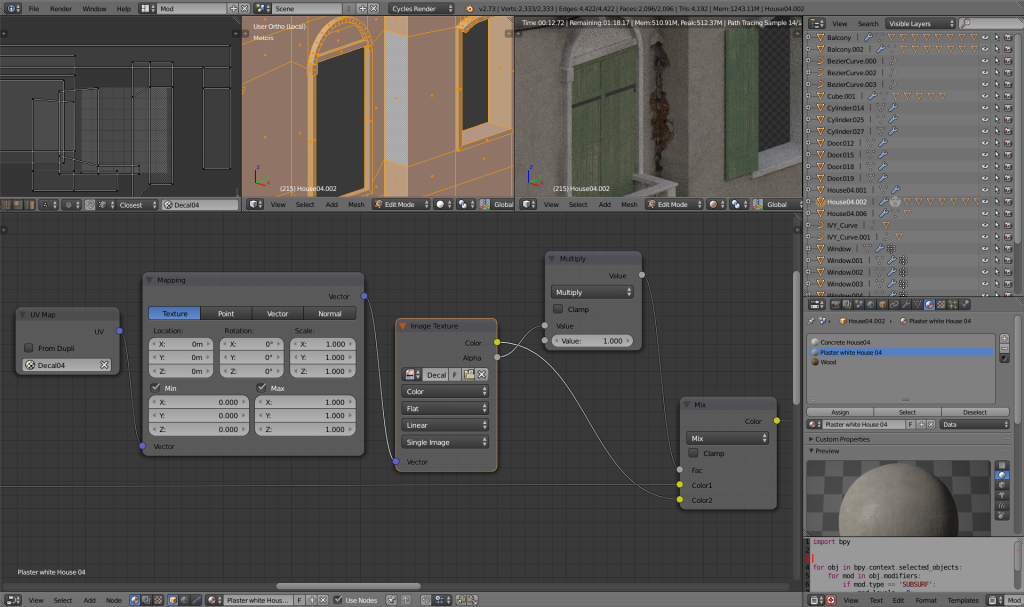
Additionally I used those nodes to add decals to the buildings. With this you can control where the decal should appear by manipulating the UVs. The disadvantage is that you need one UVMap for every decal.
Lighting
I used a HDR image to create an environment lighting and a sun lamp to create harder shadows for the midday feeling.
And Even More Details
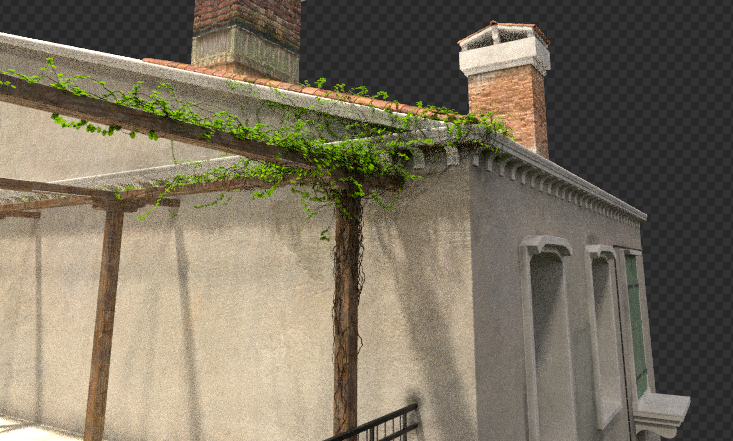
The IvyGen Addon was used to add plants to the scene.
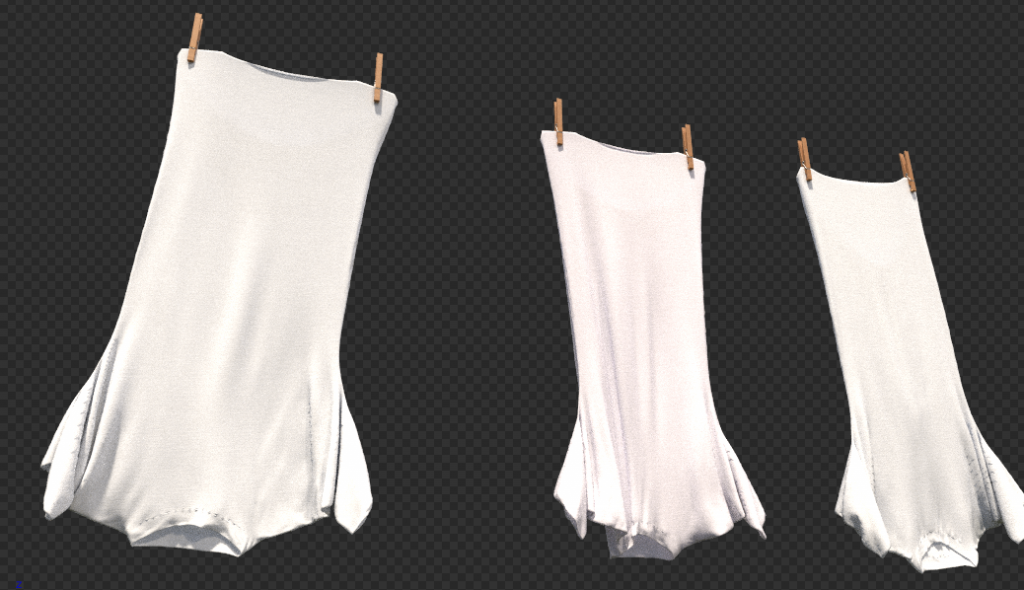
The clothes are done by modeling the very basic shape and simulating physics afterwards. To get three different results I rotated the object differently before starting the simulation.
Post Processing
The post processing on this image was a little bit tricky. At first I rendered the image and saved it together with images for ambient occlusion and mist pass. In gimp I combined background, render, ambient occlusion and dust. After some color correction, I saved it and opened it in blender to add vignette and distortion.
Final image
Links
Please feel free to visit my threat on blenderartists and my homepage.


