INTRODUCTION
Hi, I’m Andrew, and I've been using Blender for 2 years after taking a break of around 13 years! My main interest lies in architectural visualisation, but I’ve been working on smaller personal projects to continuously expand my skills. Blender has provided me with the opportunity to work more creatively on lighting, texturing, and rendering, using my previous experience in 3D CAD for engineering as a starting point.
INSPIRATION
Larger projects can often run on for weeks, which can really hurt your motivation as a learner, as the results aren't always immediate. To break it up, I set myself a different challenge: create something in a single sitting from start to finish. This can give you a real sense of achievement, and I find it to be a good way of experimenting with what is and isn't effective in making a simple scene.
This particular scene grew from an experiment with procedural texture nodes, where I generated a pattern of abstract concentric circles. It had a slightly psychedelic appearance and, with the appropriate colouring, immediately evoked memories of similar patterns used on crockery and glassware from the 1970s.
MODELLING
The modelling process is kept as simple as possible - rather than using lots of geometry, my intention was to imply certain elements through lighting and items out of the camera's frame.
To create the glass mesh, begin with a simple cylinder and scale the base to achieve the desired shape. Delete the top face, then apply a solidify modifier for the basic shape. Add some thickness to the base and around the rim, as you would find on a real glass.
Using the inner profile of the glass, duplicate the geometry and scale it to create the water. Just out of the camera's frame is a plant model, which helps add depth to the composition.
LIGHTING
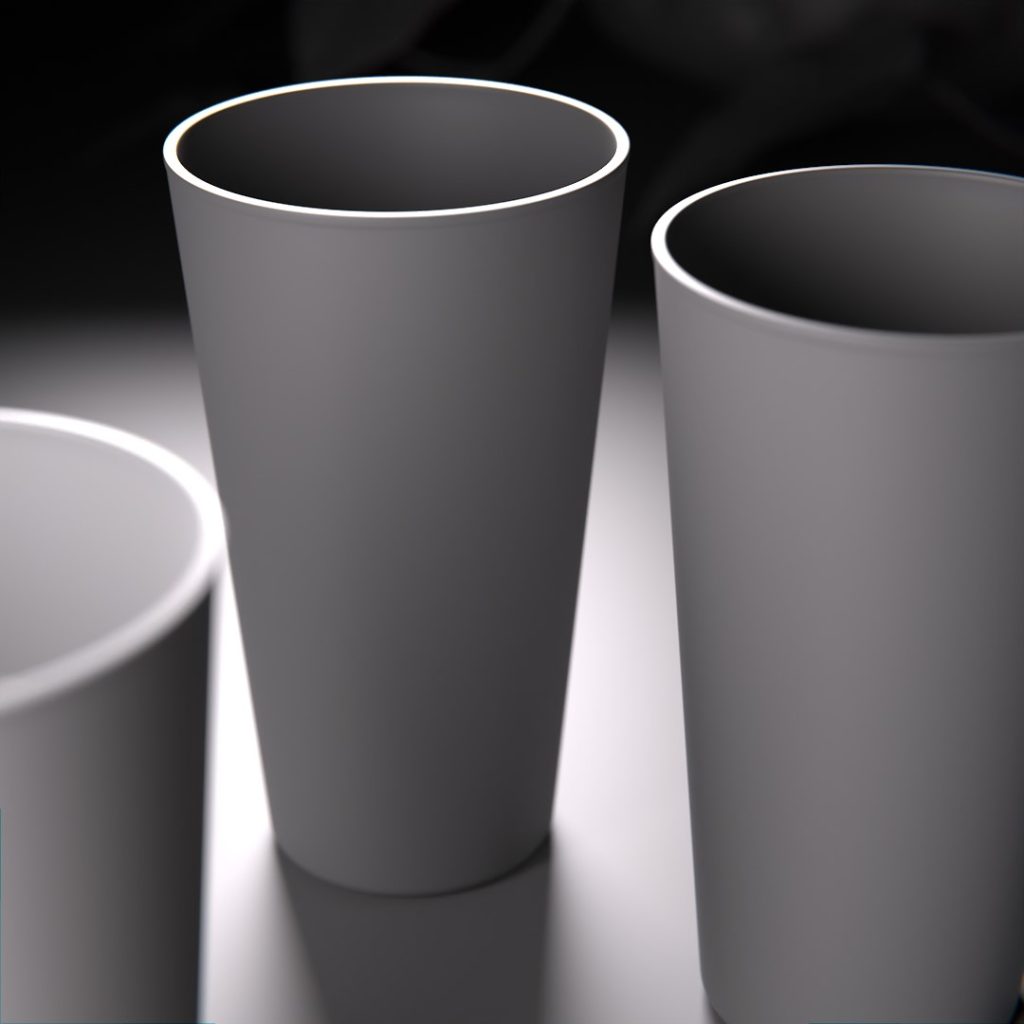
The lighting primarily comes from 2 area lights, positioned to pick up the top rim of the glass and create reflections on the table behind the glasses. Setting the brightness slightly higher to produce slightly overexposed reflections on the table is intended to imply light coming from a window behind the scene. Using a blackbody node is a great way to control the temperature of the light.
Area lights only:
On their own, these area lights provide plenty of contrast. However, to fill out the darker areas, I also used an HDRI from Polyhaven called "Photo Studio". Since the subject is glass, the HDRI adds interest through numerous small highlights and reflections, even if these are subtle.
HDRI only:
Area lights and HDRI light together:
TEXTURING
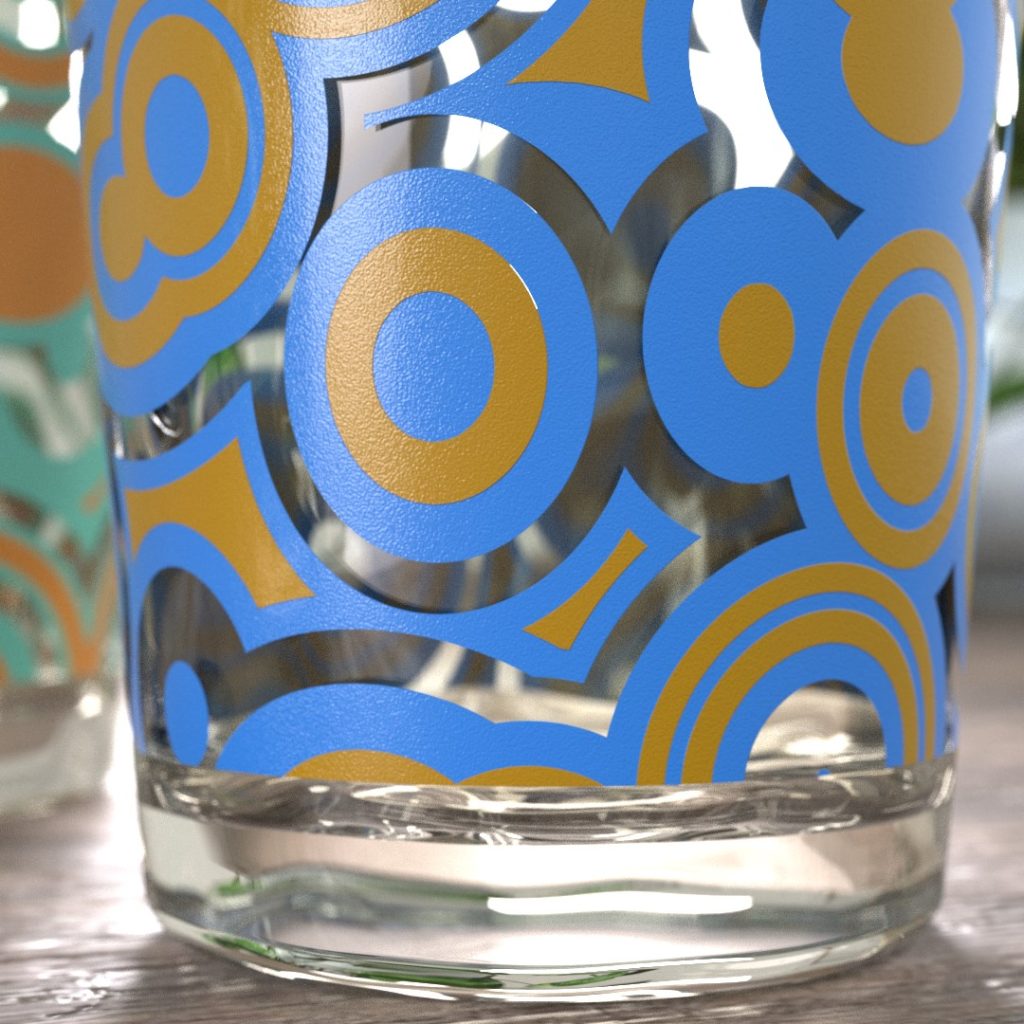
Instead of a simple glass surface shader, the glass and water materials also include a volume shader. The result is subtle, but it creates a more convincing appearance. Using a bump map on the surface shader adds some distortion to the reflections, similar to what is observed with most real drinking glasses.
The circle pattern is generated procedurally using two Voronoi textures. This approach allows for fine adjustments of the circular pattern's scale and density.
Then, use the shader alpha channel to hide part of the pattern and allow the glass to show through. Using a faded brown/orange colour palette adds to the overall feel of the scene. You can see the node setup below:
Although it isn't particularly evident in the final renders, I added some bump noise and height to the printed pattern as that's how I observed such a finish in real life.
I use a PBR wood texture applied to a flat plane for the table surface.
RENDERING
I loosely use a 'rule of thirds' grid to help arrange the shot. The main subject lies on one of the vertical grid-lines; the camera's depth-of-field and the reflection on the rim draw further focus to the subject. I then position the other 2 glasses to the sides of the image for balance.
The final images are rendered with 2048 samples in Cycles. Fewer samples combined with the denoiser would give a suitable result, but I find that the higher sample count helps clean up the noisy highlights from the reflective materials. For an animation, I would seek to optimise the setup to render with fewer samples.
Lastly, I make some adjustments in GIMP to the levels and saturation (other photo manipulation tools are available), and I also make additional changes to give the image more washed-out and hazy.
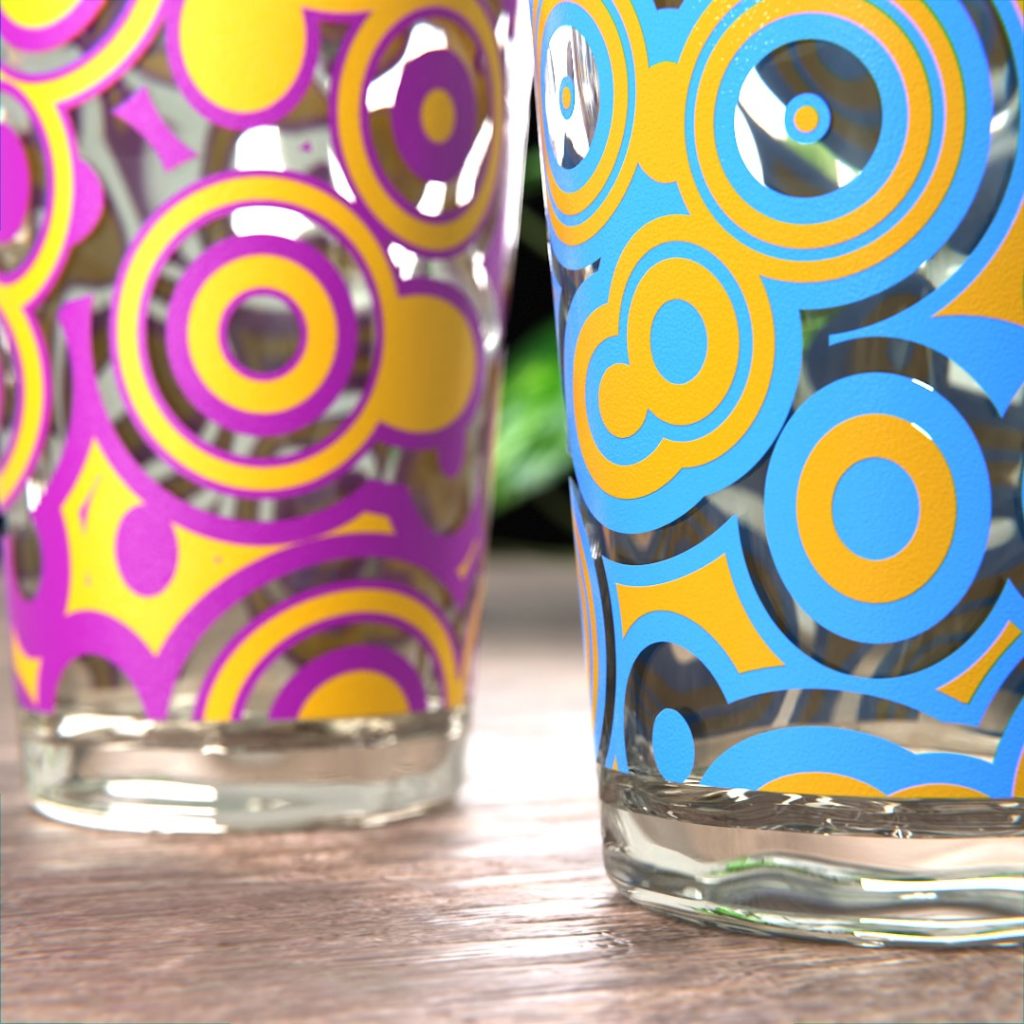
And that’s about it! Below are the renders in two colour versions.
RENDER - 1970s Inspired Glassware
Adding some surface dirt, fingerprints, and dust would lend further realism to the render, but my intent was to capture a mood rather than ultimate photo-realism.
Thanks for reading! You can see some of my Blender work on my socials.
About the Artist
Andrew is a professional engineer and an aspiring 3D artist. He started using Blender as a hobby, but he has over 10 years of experience using 3D CAD for product design and engineering.


