INTRODUCTION
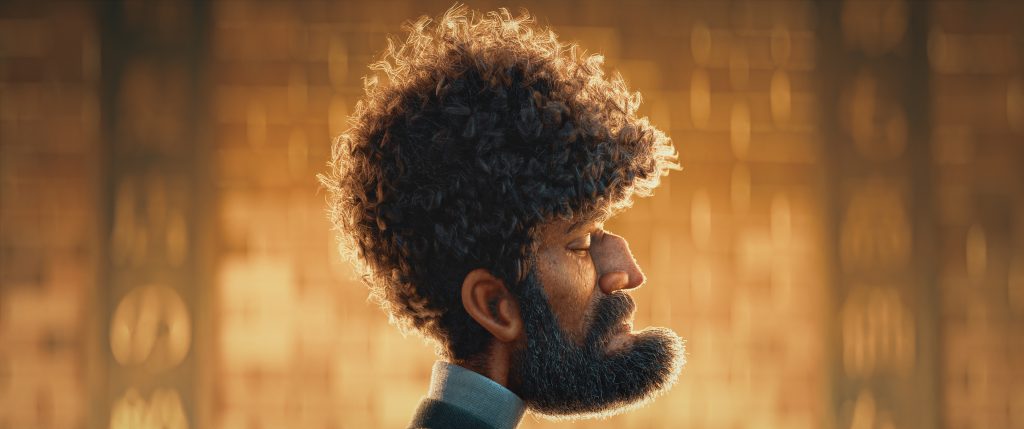
I am Alex Trevino, a self-taught digital artist from Monterrey, Mexico. I've worked on different projects, from advertising commercials to feature films. My passion lies in creating stylized and dark 3D caricatures.
INSPIRATION
This project is a collaboration with Adobe Substance and is based on the Barbershop concept by the artist Nikolai Lockertsen.
This concept has a powerful and funny emotion, an incredible dynamic shot using a Dutch camera angle, clear tone values, and an anamorphic camera format. That's why I chose this artwork.
HARDWARE
- CPU: Intel i7-7700K
- RAM: 64 Gb
- GPU: GTX 1080
- Tablet: Cintiq 22HD
SOFTWARE
- Blender 3.5 / Medusa Nodes Addon & TexTools 1.5 Addon
- Adobe Substance Painter
- Adobe Substance Designer
- Adobe Illustrator
- Adobe Photoshop
- EmberGen
- PureRef
MODELING
I start modeling the project in Blender, focusing first on the most basic shapes and gradually giving more detail to each area.
Then, I focus on getting all the UVs as good as possible because all the textures reside on this canvas.
In this project, I divided the meshes into three groups: background, midground, and foreground.
TEXTURING
For texturing, I always gather a lot of reference images. I look for them on Pinterest, Google Images, and other sites. Also, I use PureRef to collect all of them in one place.
Instead of trying to draw certain things inside Substance Painter, I prefer to create alphas in Adobe Illustrator. This way, you have more control, and the images are sharper. These are 4K images in Black (#000000) and White (#ffffff).
SHADING
There are some limitations in texturing. You cannot add a fresnel effect to a texture, but you can achieve this with a shading technique. In short, use shading techniques to control the behavior of the surfaces.
I used the wine's exported texture (Left) in this project and added some shading techniques to get the final version (Right).
HAIR SYSTEM
I used the Medusa Nodes Addon to create the hair on the characters. This addon uses Geometry Nodes as a base system, so you can modify it if you understand GeoNodes. This system takes a lesser amount of memory to create a complex hair system.
LIGHT GROUPS AND RENDER PASSES
I used the Light Groups option to divide the lights into different sets and added different render passes to fix or improve some aspects of the render. Then, I exported all of these passes into one EXR.
COMPOSITING
With the finished render, I open the file in Adobe Photoshop, perform color correction, work with the light groups and render passes, and try some LUTs to give it a cinematic look.
RENDER - Barbershop
Thank you for reading. Feel free to ask any questions, and if you like my work, follow me on social media. Have a great day!
About the Artist
Alex Trevino is a self-taught 3D independent artist. He is dedicated to visually narrating captivating stories through his work.


3 Comments
Beautyfull piece!
This is the most pixel perfect fidelity to the concept art I've ever seen, I suppose you lost HOURS refining every detail.
Thanks for sharing!
Let me ask this question: the reflection of samurai head in the mirror is composited after rendering in order to match the reference?
Genius job
I placed the samurai to fit the concept, it was a little bit difficult, to say the least. All in 3D