INTRODUCTION
Hello there, my name is Patrick Schmidt and I am a freelance 3D artist from Germany, working in the commercial industry for almost 7 years now.
I first encountered Blender back in 2011 in the 2.5 era and was instantly hooked by its intuitive design.
Back then, I was searching for a software to recreate those top-notch Hollywood VFX which got me interested in this kind of work in the first place. Blender was the perfect tool for me as a beginner without having to invest thousands of dollars. From that moment, Youtube and especially people like Andrew Price, Gleb Alexandrov, and CGMatter, helped me improve my work till this very day.
INSPIRATION
In September 2022, I had my first real vacation after 8 years and went to Italy with two friends for a sightseeing tour across the country. In Rome, I was blown away by the number of sculptures and the epic scenery in some of their Basilicas. The details and composition of those sculptures blending in with their environment really gave me goosebumps.
Back home, I wanted to give it a try and capture the feeling of this experience I had.
REFERENCES
The first step for me is always to gather some reference pictures.
PureRef is a perfect software for that. You can easily import and arrange the images, and group them into categories, etc. And you don’t have to save them individually on your computer, as PureRef stores them in the project file.
MODELING
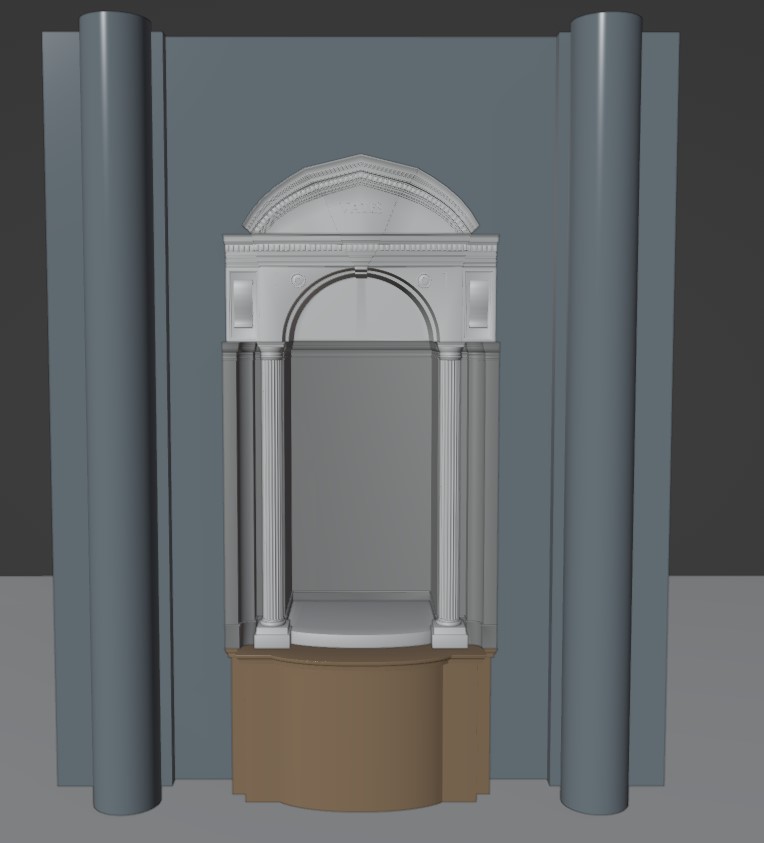
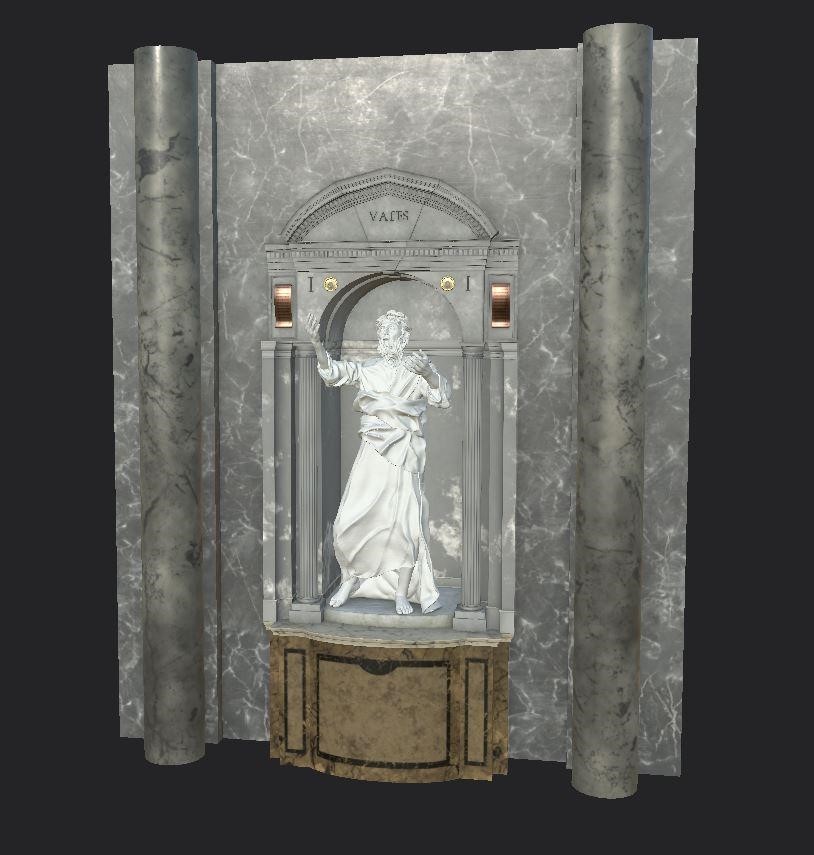
At first, I modeled the environment and the pedestal for the sculpture. The reason I did not start with the sculpture first was that I tried to get a feeling of the scale.
The model itself is nothing complicated. As you can see, they are just a bunch of cubes and cylinders modified and extruded to get the right shape.
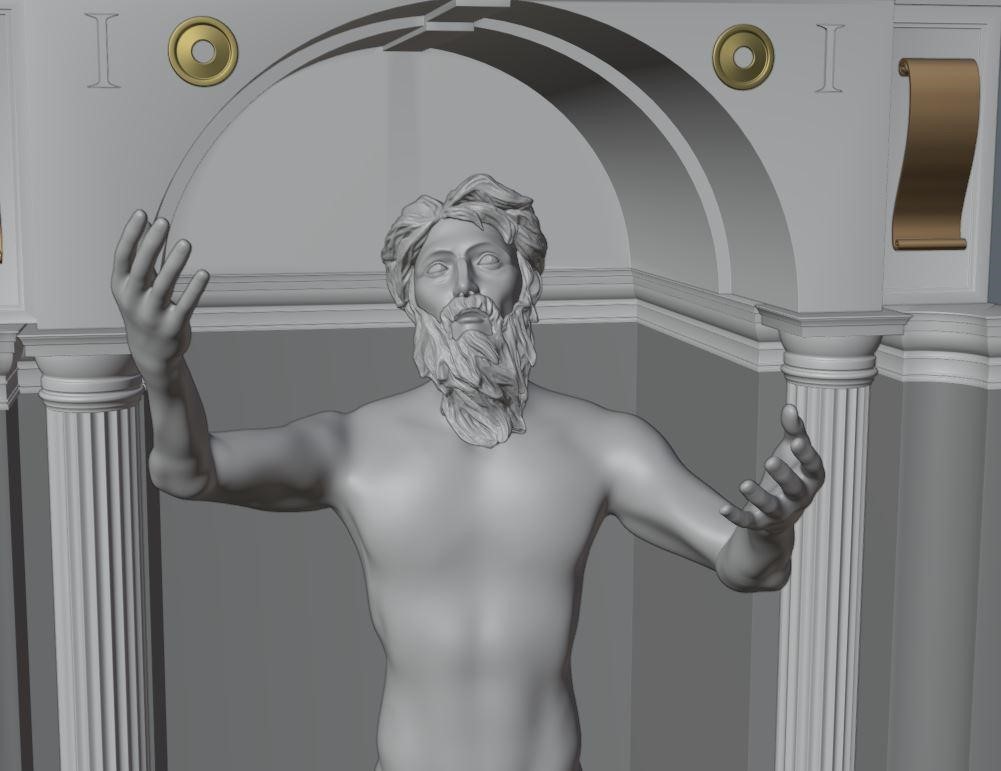
For the sculpture itself, I used a male body mesh as the base and then sculpted the model to make it look more skinny and older with mainly using the standard, crease, inflate, and smooth brush.
RIGGING
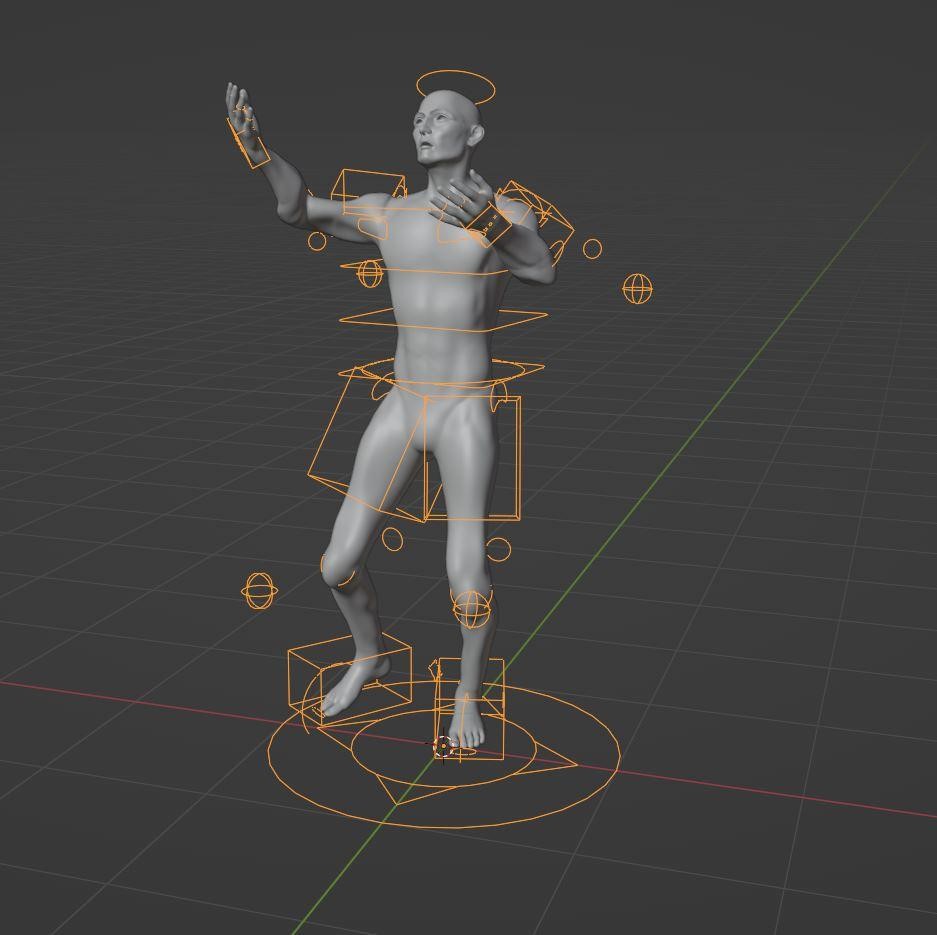
To pose the model, I used an add-on called “Auto-Rig Pro”. It’s quite a popular add-on in the community and worth every cent.
Especially for simple human characters like this one, you just need to use the “smart” feature and after placing a few reference points, it will automatically create the right bone structure in the right place and an almost perfect rig for your character. Depending on the topology or anatomy of your character, you might need to fix the weights for some bones.
GROOMING
For the beard and hair, I just created two separate and subdivided cubes and with Blender's dynamic topology enabled, I shaped the hair while looking at the reference images on PureRef. As a reminder, because I always tend to do it myself: do yourself a favor and don’t go into detail too early when you sculpt. It’s better to first block out the rough shapes and then add detail to it step by step.
CLOTHING
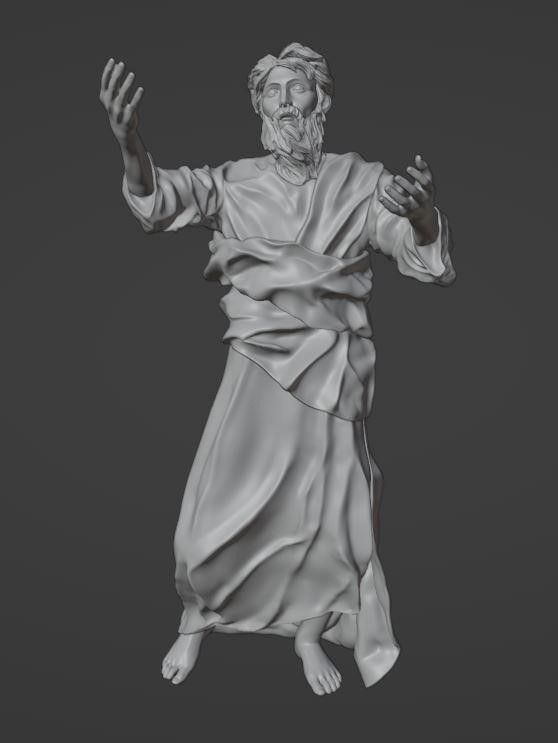
For the clothes, I went for another approach. I wanted the philosopher to wear a toga. So, I split the cloth into three parts. First part was for the legs. The second part contained the upper body and the last part wrapped around his hip and shoulder. For each part, I modeled a rough shape and then added a cloth modifier. The character got a collision trait. To get more dynamic, I added a wind and turbulence force field, and let the simulation run for a few frames till I was happy with the shape.
After applying the cloth modifier, I then used the sculpting tool to bring more detail and dynamic into the cloth. For some parts, I even used the cloth brush. It’s very helpful to get natural wrinkles into areas like the arm where the cloth gets squeezed or stretched.
I repeated that workflow three times for each cloth.
TEXTURING
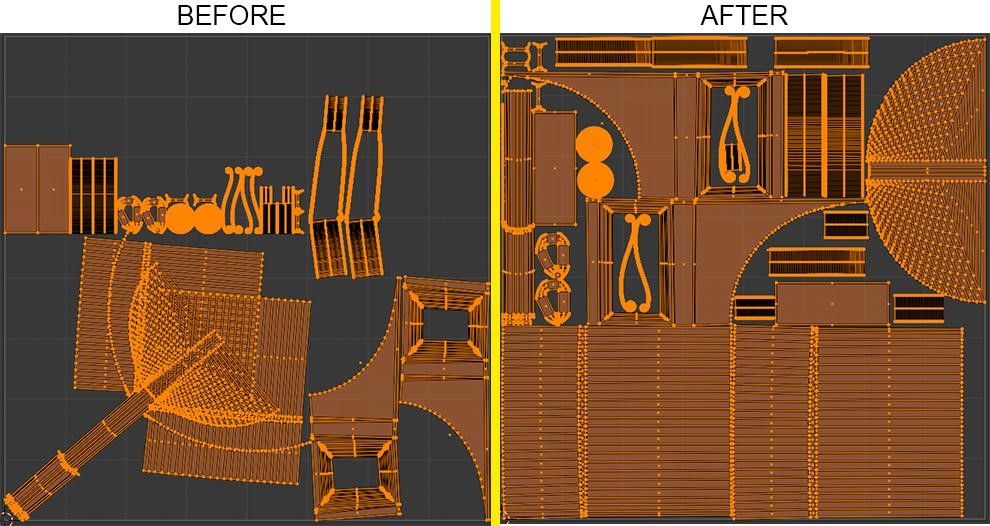
I then unwrapped the models to prepare them for texturing. There is a plugin called “UV-Packer” which does an amazing job of organizing your UV Maps to get the most out of them with only one click. It’s free and I use it every time.
Every model got its own material and was named accordingly to export as an FBX file for texturing in Substance Painter. Some models were joined together like the cloth or the hair to reduce the number of textures I was about to create.
You can compare Substance Painter with Photoshop. It’s an extremely powerful layer-based tool for texturing 3D models. You have control over every aspect of your texturing process while mixing simple textures with procedural generated masks. Also, Substance Painter has a library with over 11.000 different pre-made high-quality materials.
In Substance Painter, I played with adding textures, masks, adjusting size, normal, and roughness maps to give it that noble Roman empire look. The goal was to let it look very expensive.
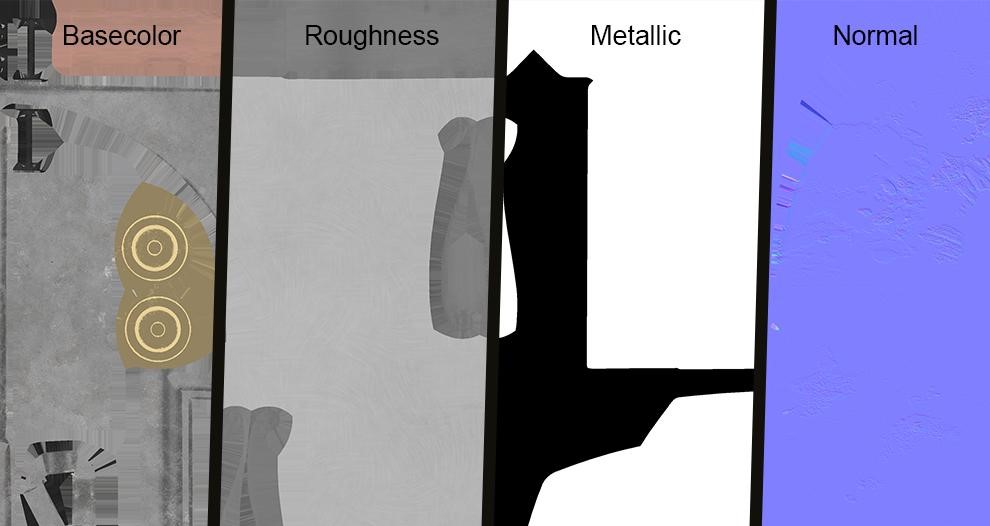
When you finish your textures in Substance Painter, you can export them as textures to be used in Blender. For this project, I needed the base color, roughness, normal, and metallic maps.
Back in Blender, I assigned the textures to their corresponding material slots. There is an add-on coming with Blender called “Node Wrangler.” With that enabled, you can Ctrl+Shift Click (on Windows) in the Shader Editor on your Principled BSDF Node, select all the textures you need for that shader, and it will automatically, assumed that you named the files the right way, generate a setup with the imported textures connected to the right inputs.
Because those are quite simple models, the node setup here is very simple and looks the same for most of the materials.
LIGHTING
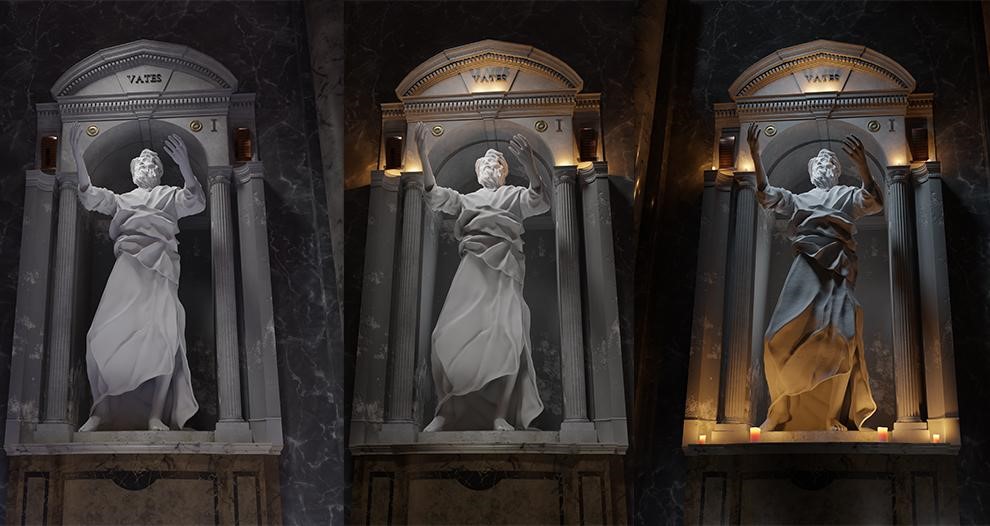
Now it was time to light the scene up and find the right camera angle. Because the sculpture should be seen as a well-respected citizen or leader of the Roman empire and at the same time give the viewer a feel of watching it like you would do in real life, I placed the camera at a very low angle and slightly to the right to create a bit of depth.
But as you can see, it is boring as hell. Why is that? The key is contrast. Contrast will always draw attention to a viewer’s eye. And it is not only the contrast between light and darkness—it is a contrast in size, detail, color, material, shape, you name it.
So, I experimented step by step, and every test render I did got me closer to the final look I was trying to accomplish.
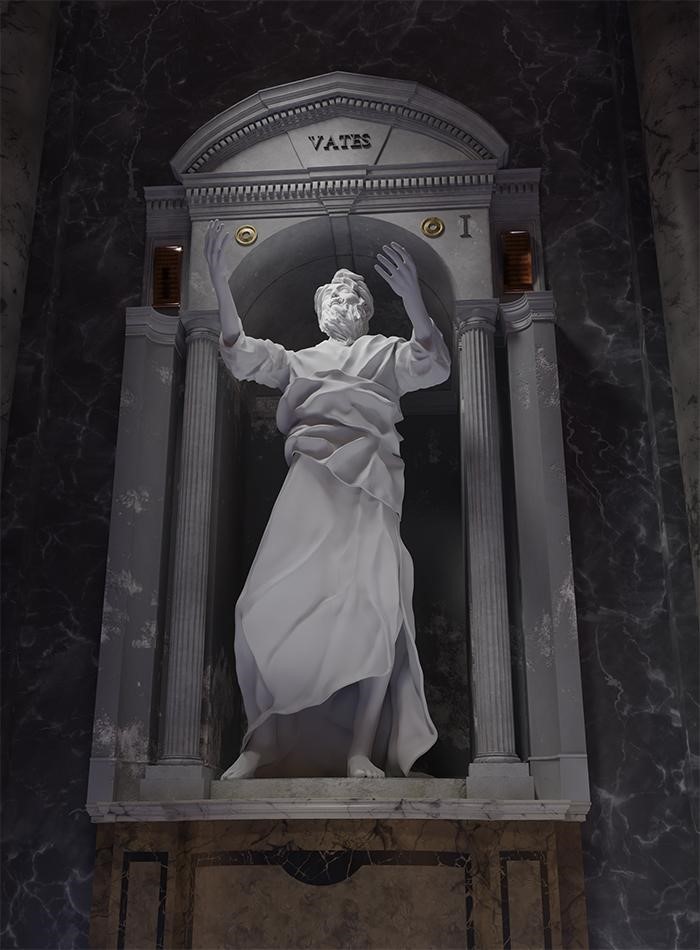
The candles I added brought more contrast with their size and the warm color. The moonlight, which shines directly at the face of the sculpture, also draws your attention right at his face because it is surrounded by the warm color and darkness.
For final polishing, I rendered the image with an additional ambient occlusion pass which allows you to really get those little dark natural corners you will find in the real world.
Eventually, I used Photoshop to finalize everything. For example, using the ambient occlusion image on top of the final render as multiplied to adjust the shadows or giving the candles a soft bloom.
VATES
And there you have it!
Thank you so much for reading this article. You can find more of my work on Artstation. Have a nice day!
About the Artist
Patrick Schmidt, a 3D artist from Germany. He is the co-founder of Crafting Pictures, and passionate about telling stories through film and animation.


